ironman

Why Paddles Should Double as Hats

I know you’ve all jumped in the pool and thought to yourselves, “Gee, how can I use my training gear in a way it wasn’t made for?” And by that I mean I doubt anyone has ever had that thought, and this is the very reason why I question my husband’s sanity at times. But, since he thinks outside the pool (see what I did there? or maybe I should have said “outside the SwimBox,” take the one you like better and re-read this last sentence. Go on, I’ll wait) and plays around with these things, I now present to you my all time favorite drill. Paddlehead.

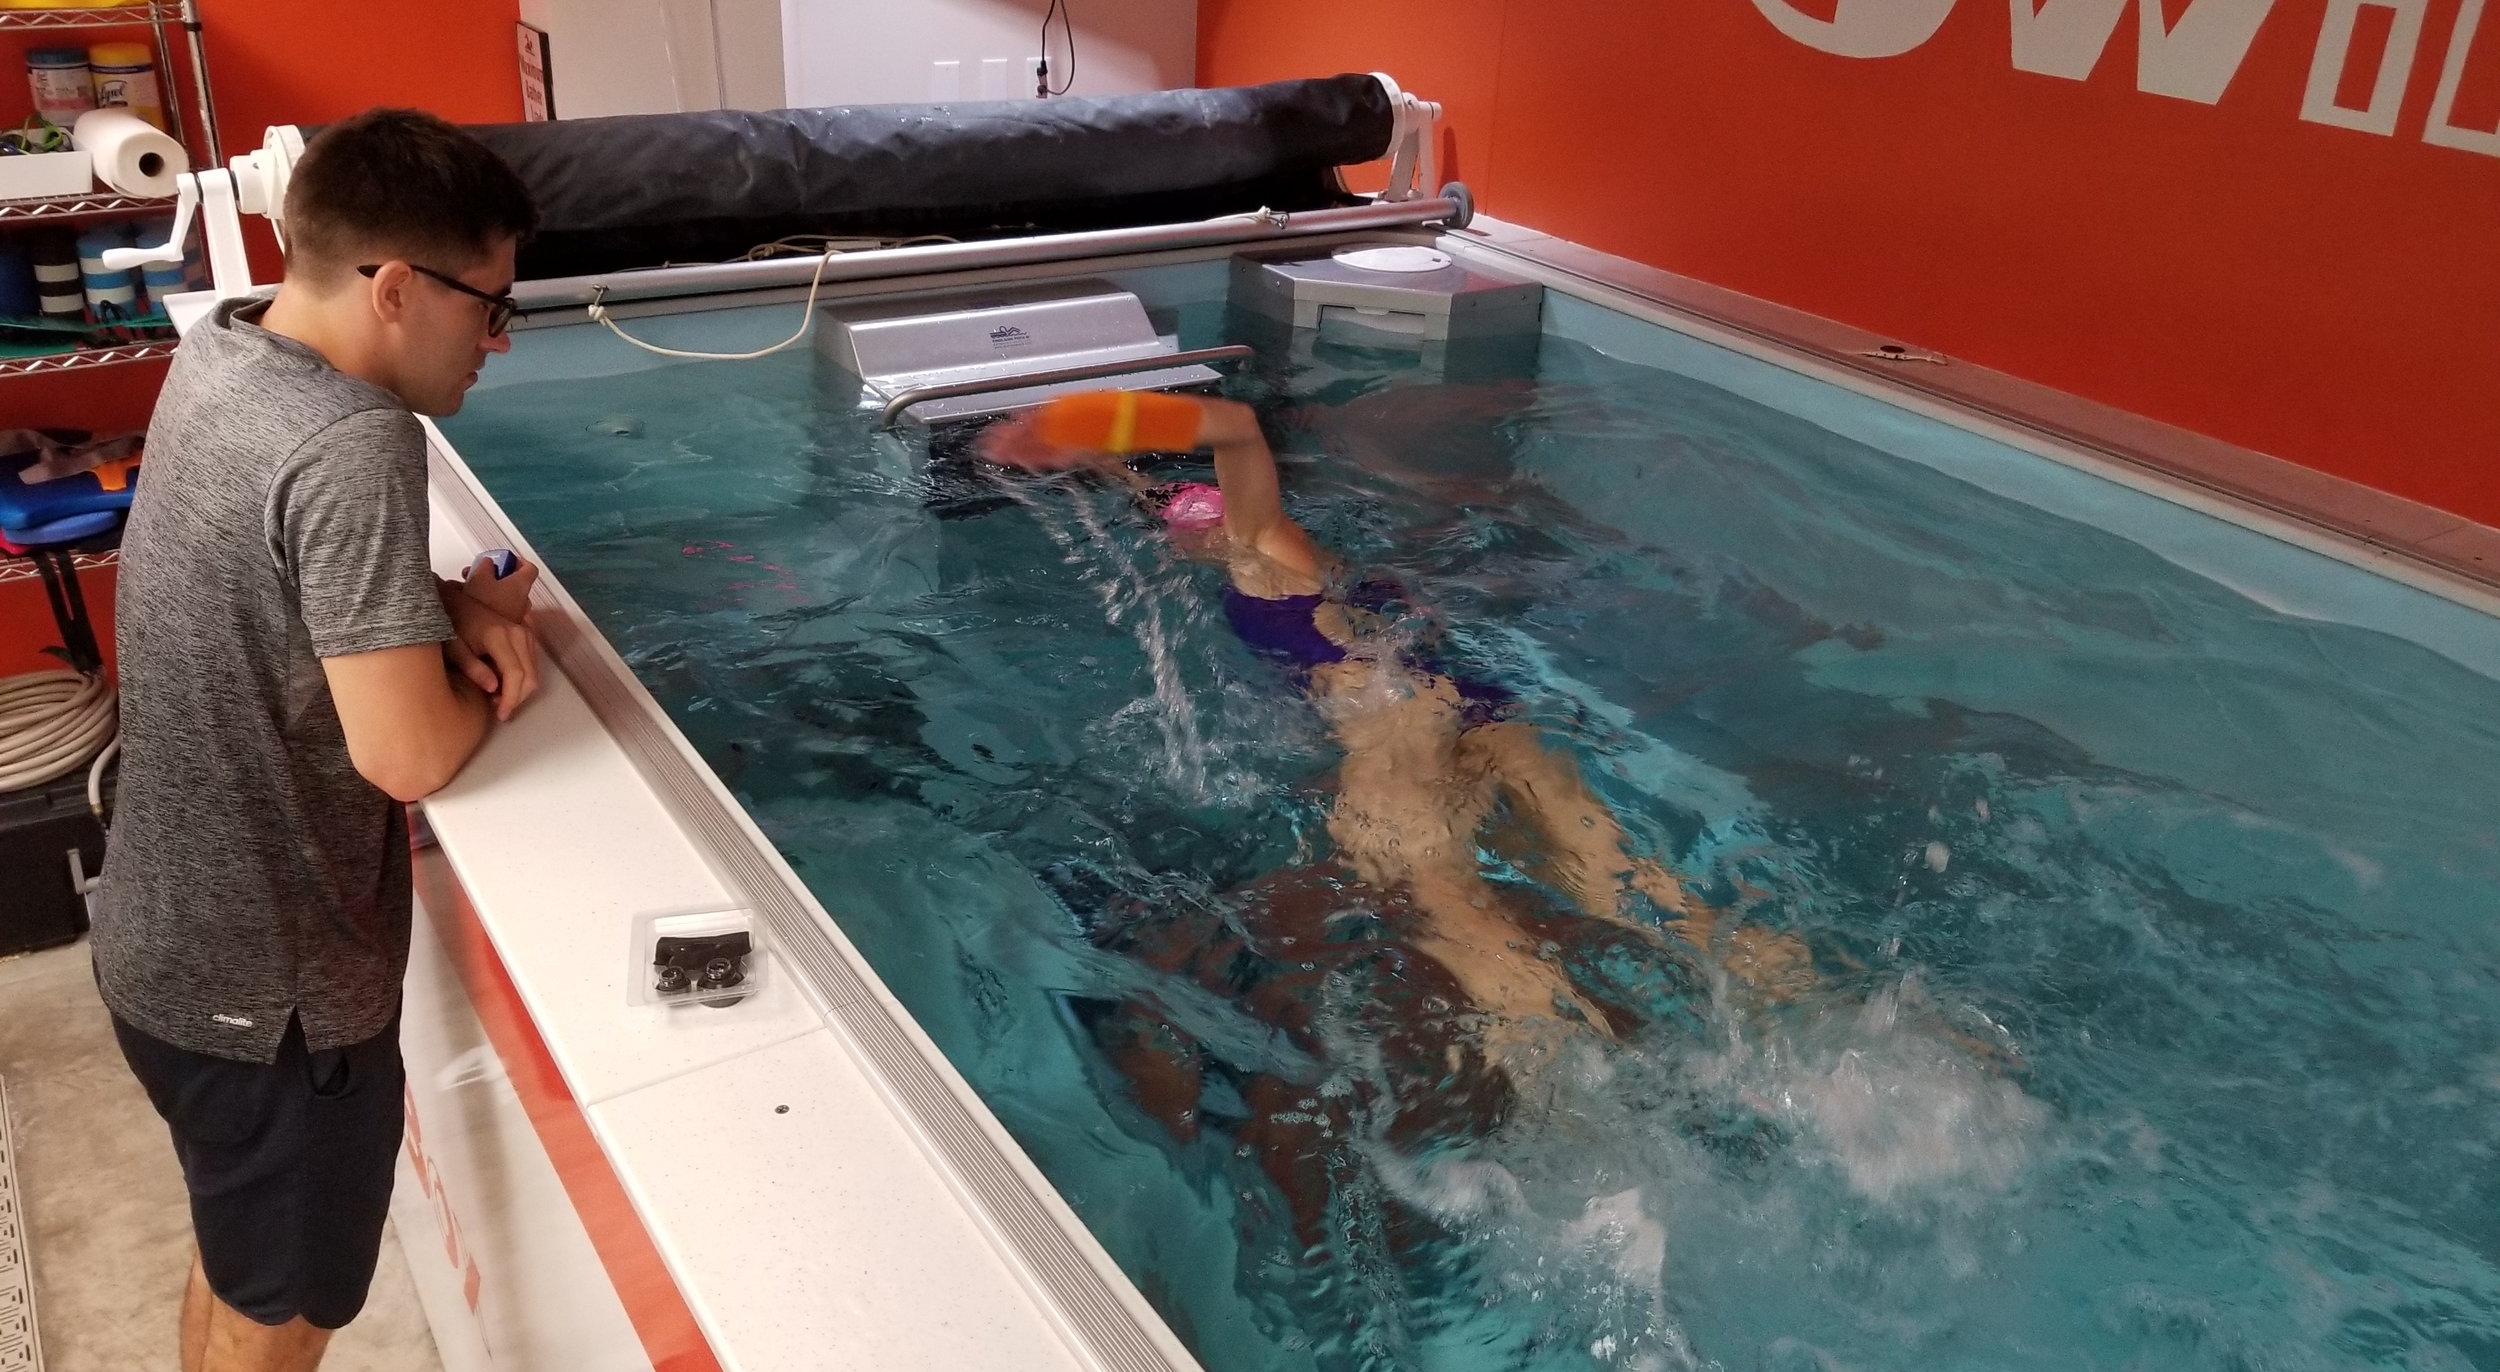
I love this drill because you DO NOT NEED a coach to practice it. Yes, you heard me correctly. The paddle gives you all the feedback you need to know if you’re doing the drill properly or not. And what does the drill work on? Head position.

SwimBox Swimming Lessons SwimBox Swim Coach Northern Virginia SwimBox Swim Team SwimBox Swim School

Paddlhead drill is the perfect drill to use to help you learn proper head position in freestyle. For beginners you’re going to start the drill WITHOUT taking a breath. No, I’m not asking you to hold your breath and swim until you pass out (although that might be a fun contest…). I mean when you’re first starting this drill, take 6-8 strokes - or however many strokes you can take without needing a breath - then stop when you need air. When doing this you want to focus on keeping your head in proper position. What’s that, you’re asking? With the paddle on the crown of your head, look straight down at the bottom of the pool. Make sure you’re not cheating here and pushing your neck downward while doing this drill, as that will more often than not keep the paddle from falling off, and will also take you out of proper head position.

SwimBox Swimming Lessons SwimBox Swim Coach Northern Virginia SwimBox Swim Team SwimBox Swim School

In the image above you can see the exact placement of the paddle that we’re looking for. The paddle should be placed right at the hairline and above the forehead. If you place the paddle directly on your forehead you’ll be able to cheat the whole drill and won’t get any feedback from the drill itself.

After you’re comfortable with your head position and can swim confidently without the paddle falling off, it’s time to add in the breath. Now, this is where things get tricky and sometimes downright discouraging. Be patient! This is the hardest part to have the paddle stay on. When you go to take your breath, focus on keeping your head low to the surface of the water and make sure your chin is pointing slightly down towards your collarbone. If you lift your head up at all, or move out of proper head position, the paddle will fall off when you go to breathe. Don’t try to do this too fast and get frustrated. I tell you this with 100% honesty, we’ve never had a client take a breath for the first time doing this drill and not have the paddle fall off (not even me). This movement takes time and patience to get right, you just have to keep at it.

SwimBox Swimming Lessons SwimBox Swim Coach Northern Virginia SwimBox Swim Team SwimBox Swim School

When taking your breath, try using your eyes to make the movement and have your head follow. It sounds weird, I know, but your head will follow the path that you make with your eyes without having to completely focus on solely moving your head. You want to look down in your eye sockets and try to look about 4 feet behind you. Another cue is to try to look down towards your armpit. Focus on these things when working on adding in the breath, as this is what will help you keep your head low to the water and prevent the paddle from falling off.

For detailed instructions on this drill before adding it to your next swim make sure to check out our video! You’ll be able to see how the paddle stays in place when I go to take a breath and how low you want your head to be in the water.

Training Through the Tears

Let’s take a minute to be extremely honest here. My training has ramped up recently, and yesterday I started crying in the middle of my swim workout. I’m exhausted, my legs seem to constantly hurt, not to mention my knees seem to be akin to that of a 90 year olds, and all I want to do is sit on my couch and eat bread. Maybe some bagels too, but mostly bread. I want to relax, stop working out so much, and lick my metaphorical wounds. So? I cried in my goggles while I was swimming. My stroke felt like garbage, my right arm seemed like it had completely forgotten what it was supposed to be doing, and the water felt like syrup against my attempts to get through it. Ugh.

But I pushed through, I stopped crying (although it went on for longer than it should have to be truthful), and I finished my workout. Not only that, but I didn’t skip my third workout of the day later that afternoon. And after that third workout? I put on my largest sweatpants, took out my contacts, and sat on my couch with a giant bowl of baked ziti and two donuts for dessert. And it was incredible. It was everything I wanted it to be.

What am I driving at here besides using my blog as a place to vent and daydream about meals past? That feeling this way, like signing up for this Aquathlon was the last thing I wish I had done, and letting myself be upset, is perfectly okay. In fact, it’s more than okay, it’s normal, and it’s part of the many ups and downs you’ll experience when training for any race or event on your calendar.

No, I don’t have tips to get through this, and I’m not going to tell you how to avoid it, because I don’t think you should. I think you should let it happen. Let yourself get upset, complain to anyone who will listen, and get your frustration, sadness, anger, whatever it is, out of your system. Feel your emotions, don’t push them down and try to ignore them, that will only make them worse and could hurt you mentally in the long run.

I’m going to keep it short and sweet. If you’re having a tough go of it with your training right now, that’s okay! Talk about your feelings, get upset for a bit, and then move on.

Why Bananas Don't Belong in the Pool

“Swimming is a sport of centimeters.” This is something my favorite swim coach likes to tell me over and over again, especially when I’m having trouble making a small adjustment to my stroke. This might seem like a depressing thing to focus on, but it’s really not. Think of the Olympics and the famous finish Michael Phelps had when he out-touched Milorad Cavic by only one one-hundredth of a second to win gold. One one-hundredth of a second. It takes ten times that long to blink to put things into perspective.

The small movements you work to correct over and over again, that sometimes make you want to pull your hair out in frustration, are the movements that will put you ahead that one one-hundredth of a second to beat out your competition. And in this case, the movement I want to talk about is keeping your ribs down and closed while you swim. What does that mean? The best way to understand it is to first think of the opposite, what you look like when you swim with your ribs open. Think of when you arch your back, and how it turns your torso into a "U" shape, or - and this one's my favorite - a banana in the water. Swimming like a banana through the water clearly would not be beneficial for your efficiency and power. This body position takes you out of streamline and, unlike a banana, causes your hips and legs to sink downward toward the bottom of the pool. Swimming with your hips and legs not at the surface of the water means you're causing unnecessary drag that you have to fight hard against to propel yourself forward through the water.

SwimBox Swimming Lessons SwimBox Online Course SwimBox Swim Lessons SwimBox Triathlon Swim Team SwimBox Vienna SwimBox Tysons

The position you want needs to be driven from your ribs, and is, in actuality, a very small movement. When people tell you to arch your back most people create an extreme exaggeration, forming that “U” shape with their bodies. Here, you want a slight crunch inwards, driven from your ribs, which will result in a flat back. Think of it like the position you make when you exhale. When you blow your air out, your ribs go down and move inwards. Not the exact opposite of an arched back, you don’t want a hunchback either. You want to straighten our your back with this downward movement of your ribs in order to prevent swimming like a banana.

SwimBox Swimming Lessons Falls Church SwimBox Swim Coach SwimBox Swim Lessons SwimBox Swim Team SwimBox Fairfax SwimBox Arlington

What does this position do? It brings your hips and legs up to the surface of the water, AND helps to tilt your head into proper position at the same time. Try both of these movements standing up on land before trying them out in the pool. In the beginning, make them as exaggerated as you can. To make your banana, take in a really big breath and hold it. Now watch as your body turns into that “U” shape/banana. To feel the opposite, the position we’re looking for, exhale that really big breath and you’ll feel your body straighten back out, as well as the weight of your body falling back onto your heels. This will show you the extreme differences and help you find what we’re looking for in the water.

I know this probably sounds weird, but this minor change to your posture is one of the centimeters that’s going to help you get that much closer to your goal times. It’s going to improve your streamline, power, and efficiency by allowing you to move through the water with less effort and more smoothly than before. If you want to work on this more intensely make sure to take a look at our Foundational Breathing Method online course!

Maybe One Day I'll Like Running...

Oof, I’m beat. I really don’t know how you guys train for these super long races that take hours to complete, I really don’t. My aquathlon should, in theory, take me no longer than 45 minutes to complete, and my training is still taking over my life. Is this normal? I’m told it is, but still, yeesh. And this is coming from someone who spent her formidable years waking up at 3:45am to jump into an icy cold hole in the ground and swim back and forth in it for two hours, and THEN spend 7 hours at school. Trust me, I’m no stranger to working out, but for some reason this training is really taking it out of me.

Running.png

All of our SwimBox clients keep telling me to spread my workouts out throughout the day, but to be honest that sounds like the exact opposite of how I want to spend my time. I enjoy waking up early (sometimes too early, sorry Dominic), getting my workouts in and out of the way, then starting the rest of my day. I hate the feeling of having a training session loom over my head when it’s not the first thing I do when I get out of bed in the morning. If I have to workout after lunch, you better believe I’m going to be complaining about it. After dinner? Forget it, it’s not going to happen. Well, okay no, that’s not true. Back when our gym wasn’t flooded and out of commission (don’t get me started) it never bothered me to walk out of my door, take three steps and go to the gym. But when I have to drive somewhere, it somehow becomes the bane of my existence when the workout isn’t at o’dark thirty in the morning.

RUN WORKOUTS

Anyshways, my run workouts. Not a swimming specific post, I know, but what can you do about it. I’ve been trying my best to run at least 3-4 times a week, but more often than not lately it’s been three runs per week. The heat was my initial enemy, but lately it’s been the rain, and I’m sorry but I’m just not going to run in the rain if it’s more than a mist. Klutz is my middle name and I just know I’d slip on a leaf and break 578493 bones in the process. So, I stay inside. My long runs, which I try to do twice a week, are sitting pretty at about 40 minutes right now. Eventually I’d like to get up to 45 minutes, but for some reason these mentally kill me. It’s not that they’re incredibly taxing in a physical sense - probably on the upper-side of moderate pace - but the words “40 minute run” bury down into the depths of my brain and weasel around in there scaring the donuts out of me. I don’t know why, since my swim practices were always at a minimum 90 minutes long, but those came with built in breaks. I’m having to work very hard to keep my thoughts positive during these runs and not chicken out.

SwimBox Thoughts Swim Blog SwimBox Swimming Lessons SwimBox Swimming Blog SwimBox Swim Coach SwimBox Swim Team Tysons SwimBox Vienna

The other runs I do every week are a mix of fartlek style and walk-sprint combos. The hardest workout I’ve had yet was a 40 minute swim workout (made up of the interval training I wrote about in my first aquathlon post) immediately followed by a 30 minute walk-sprint. The sprint was one minute and the walk was two minutes, repeated over again until the 30 minute mark. My legs were DEAD after that. Completely dead. Thankfully I was treated to a cinnamon roll the size of my head after this, but still, that was a tough one.

I know this post has been a bit complainy, I’m sorry about that, but I’m always going to be honest about these things. And since this has been hard on me, that’s what you’re going to get to read about. And hey, just think, no food jokes this time! Well okay, not no food jokes, but one per post is probably the least you’ll ever get from me.

Come back in a few weeks to read about the progression of my swim workouts and what I’m doing for strength training!

Raise Your Hand if You've Ever heard of UpKick...

Raise Your Hand if You've Ever heard of UpKick...

Your freestyle kick is made up of two parts: your upkick, and your downkick. Both of these parts need to be focused one with the same amount of energy in order to keep your hips and legs from sinking.

SwimBox and Vasa Trainer Project: More Work w/Katie!

Before you read any more of today's blog, I want to let you know I'm 100% aware of how repetitive my posts about Katie's and Flaca's lessons are. And that's exactly how working on swimming should be, repetitive. As I've said before, swimming is a sport of centimeters, and every 100th of a second counts. So working on the minute details of your stroke and constantly reinforcing proper technique is exactly how you're going to make positive progress and help yourself to swim more efficiently. Yes, it can be boring at times, but you're always working at moving forwards. Especially with people who have been swimming for years and are set in their ways, changes take time. 

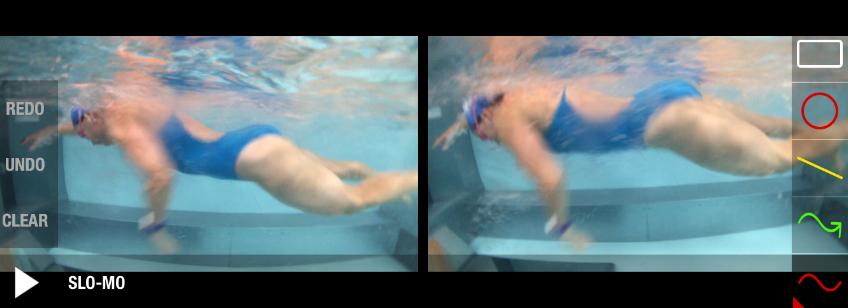
But anywayyyy, I wanted to start off my post about Katie's latest lesson with that little bit of background information so you don't think I'm just writing the same thing over and over again with different pictures. One thing Dan noticed during her recent lessons was that Katie's elbow was moving upwards as a result of her arm exiting the water too early. You want your elbow to stay on the same plane as your torso, not move higher or lower than that.

SwimBox Swim Lessons Swim Team SwimBox Tysons SwimBox Vienna Swim Lessons SwimBox Swimming Lessons

In case you missed last week's post, Katie's lesson focused on connecting the movement of the finish of her stroke into the recovery. You want to keep your palm facing backwards and make a "J" shaped movement from the finish of your stroke into your recovery in order to fully benefit from the propulsion you get from your catch and pull. 

After working on this movement again Dan had Katie focus on the paddle you want to make from your fingertips to your elbow during the catch and pull of your stroke. In order to gain the maximum amount of propulsion from this paddle you want to make sure you're bending at your elbow, not your wrist. To ensure this Dan fashioned together a splint of sorts to prevent Katie from bending at her wrist and losing out on the majority of her paddle.

SwimBox Swim Lessons Swim Team SwimBox Swim Coach Learn to Swim SwimBox Vasa Trainer SwimBox Swimming Lessons

The splint forces Katie to keep her arm straight from her fingertips to her elbow, which creates the largest paddle possible to propel her through the water. The larger the paddle, the more efficient your stroke will become, and the easier it will be to move forward faster. Using the splint gives Katie better body awareness as to what she's looking for when she removes it and swims on her own. Understanding the feeling you're looking for when making a change to your stroke is key to making the change properly and progressing more quickly. 

In between her lessons here Katie's doing workouts on her Vasa Trainer SwimErg that she has at home to work on strengthening the main muscles we use for swimming as well as up her endurance. An example of one of her workouts is listed below.

Repeat each three times:

  • two minutes of good catch movement (do butterfly or freestyle catch; no watts needed, just focus on proper movement)

  • two minutes freestyle catch at 20-40 watts (make sure you focus on keeping a good catch movement - keeping proper movement is key, especially when picking up the pace)

  • :15 seconds of freestyle catch at 100+ watts x 6; :30 seconds rest in between each round

Being able to focus on strengthening these movements outside of the pool is such an important piece to training and progressing in your times. The more endurance you gain on the SwimErg the more efficiently you'll be able to move through the water when you hop back in the pool. It's also a great tool to use when you're trying to find proper body awareness.

Stay tuned to see how Flaca's lesson goes this week!