The 3 Keys to A Successful Open Water Season Prep

The time is here! Slightly warmer temperatures, the sun is out earlier, and the smell of wetsuits and triathlon kits are constantly wafting through the air. You don’t smell it? Take a deep breath, I’ll hold on for a second. Still nothing? Okay, maybe it’s just me, but I swear that smell of neoprene is everywhere right now. Which means it’s finally open water and triathlon season again! If you haven’t been prepping all winter long (unless you’re like me and count eating Christmas cookies as prep) don’t worry, we’re going to go over the 3 key things to focus on to help you make this season your best season yet.

SwimBox Swim Lessons SwimBox Sterling SwimBox Herndon Swimming Lessons SwimBox Swim Coach SwimBox Falls Church

First up - and this should be pretty obvious, but I won’t take any points away if you hadn’t thought of this - SIGHTING. Sighting is the main thing that can make or break your open water swim, even if you’re lucky enough to call yourself Michael Phelps (or Dara Torres, Amy Thompson, Lenny Krazelburg, Ian Crocker, you take your pick) and nothing seems to get your swimming down. If you don’t practice sighting and getting your body used to making this movement, you’ll most likely find yourself in the open water not sighting as frequently as you need to, or sighting improperly, and adding seconds to your time, and possibly injuring your neck and back because of it. Worst case scenario you barely sight at all and swim completely off course, adding minutes to your time and wasting a ton of your energy. The best drill to use to work on your sighting is Alligator Eyes. After you feel comfortable with that drill, move onto practicing a Rolling Sight. A rolling sight is how you’re going to be want to sight during your races, so it’s incredibly important to practice the movement of this in the water before jumping in any lakes or oceans. Make sure to watch both of these instructional videos to see how to do them on your own.

SwimBox Swim Lessons SwimBox Sterling SwimBox Herndon Swimming Lessons SwimBox Swim Coach SwimBox Falls Church

The second thing to focus on is bi-lateral breathing. Now I know this might seem weird, since so many coaches nowadays are 50/50 on either bi-lateral breathing or one side breathing, but trust me here. Fine tuning your breathing to BOTH sides gives you the ability to be able to adapt to your surroundings once you’re in the open water. Sun too bright to breathe to the right and still see? Breathe to the left. Huge waves coming at you from the left, obstructing your sight and constantly splashing water into your mouth? Breathe to the right. Starting to make sense now? Being able to breathe to both sides doesn’t mean you HAVE to breathe to both sides during a race, or all the time at practice for that matter, but it gives you another weapon to keep in your arsenal if you need to use it on race day. We prefer people to practice bi-lateral breathing either by length of the pool or by 50s, NOT by breathing every 3 strokes (which causes you to switch sides for each breath). Breathing every 3 strokes causes you to constantly change your movement patterns and your balance, which changes the consistency of your stroke and can make the learning process more difficult.

Last, but definitely not least (but probably most boring unfortunately, at least to me), is pace work. Since you’re going to be on your own in the open water, without a pace clock or the ability to stop and look at your watch, you’re going to have to be able to rely on yourself to know if you’re keeping the right pace or not. Practicing pace work can be annoying, but helping your body understand the feeling it will have at certain speeds will allow you to know what your stroke and level of effort should feel like to make sure you’re keeping up with the pace you’re looking for and better help you reach your goal time. If you simply get in the water and go, keeping in mind not to sprint the whole swim (unless it’s a sprint tri or super short open water race), there’s no telling what pace you’ll go. You might get lucky a few times, but if you’re going to keep racing you need to know how different paces feel as you move through the water. The best move is to practice with a Tempo Trainer to find a pace you’re confident you can maintain during your open water race. Once you’ve found a comfortable pace using the tempo trainer, take it out and try to swim mimicking the pace you just found. It’s going to take some guess and check, but it’s all about finding a pace you can maintain and figuring out how that pace feels in the water. Here’s an example of what you’re looking for to try. Use your tempo trainer and swim a 200, make sure you get your time. After you get your time, take the tempo trainer out and swim a 50; try to match the pace you just swam your 200. If you go 4 minutes on the 200, you should come in at 1 minute on the 50. You can do many variations of this with longer distances as you get the hang of it, or you can just repeat this set in order to improve your pacing.

Our Favorite Training Tools: Fins

Last up in our series of our favorite training tools we use in our lessons that you can also use on your own: fins! I know what you’re thinking, “Lissa, everyone has fins, we all know how to use them, where are you going with this?” To which I say you’re exactly right. Fins are a very well known training tool, one that I’ve been using for over 2.5 decades at this point as a matter of fact, but that doesn’t mean they shouldn’t get the spotlight they deserve. Not to mention, I’m willing to bet I’ll write about at least one thing you hadn’t considered using fins for in this blog. And if I don’t? Well, I’m not sure...I’ll buy you a donut?

First and foremost, fins are most commonly used to build leg strength by simply wearing them during swim practice. Growing up I always wanted to use them before they would help me go faster, but little did my adolescent brain know that they wore me out much more quickly because they were forcing my legs to work a lot harder than I was used to.

SwimBox Thoughts SwimBox Swim Blog Swimming Lessons SwimBox Swim Coach SwimBox Adult Learn to Swim

The resistance you’re adding by putting on the fins is what helps you gain strength in your legs and improve your kick. Without fins, you’re only having to push back against the water with the back of your legs and feet. BUT when you add the fins, you now have to push back against the water with the back of your legs, feet, and the entire surface area of the fin. Since fins are (usually) rubber, the way they move in the water in unpredictable and changes with every kick you make. The added resistance and unpredictability of movement forces your legs to work much harder than normal, providing you with a great way to strengthen the exact muscles in your legs used for your kick.

SwimBox Swimming Lessons SwimBox Swim Coach SwimBox Adult Learn to Swim Lessons SwimBox Sterling SwimBox Herndon

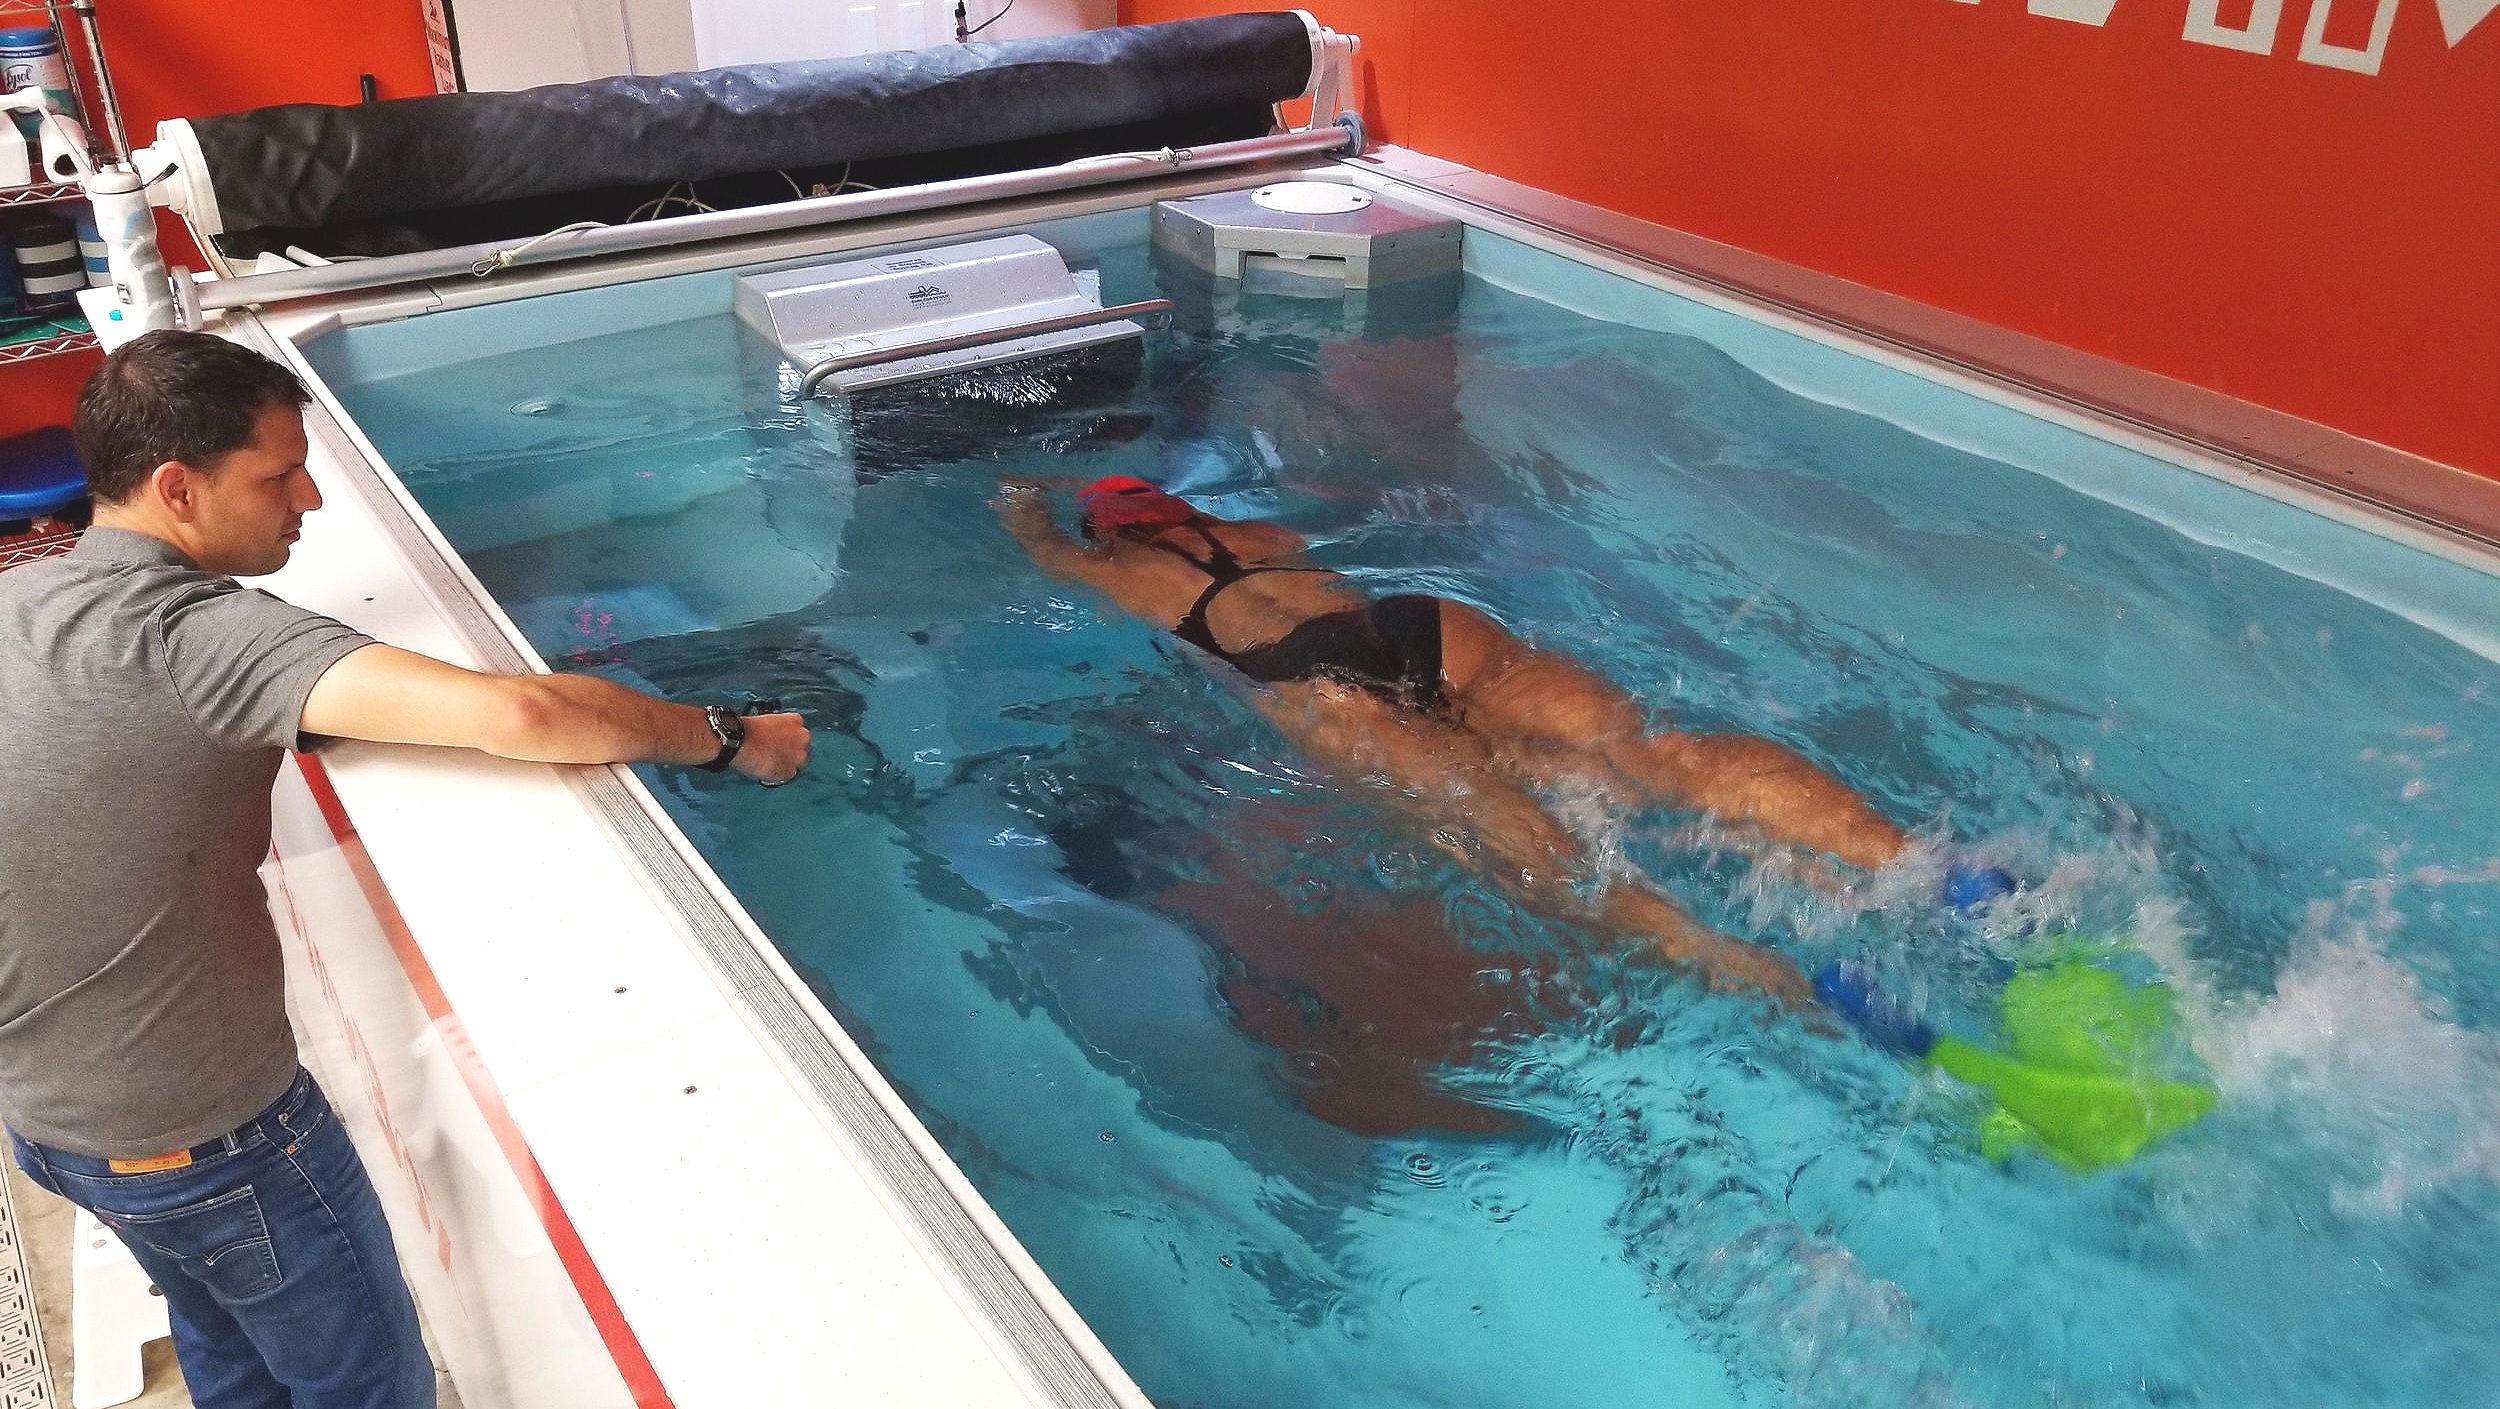
Another way we use fins with our clients is to help take their legs out of the equation when we want to focus on one piece of their stroke at a time. Wearing the fins (or fin, when we’re talking about a monofin for butterfly) allows you to create momentum without putting forth much effort. This momentum provides you with stability in the water, allowing you to maintain your balance while staying focused on the task at hand. Which could be working on your hand entry, head position during your breath, proper timing of your hip rotation, etc. Whatever you’re working on, the use of fins allows you to not have to think about what your legs are doing and gives your brain that much more power to keep your thoughts - and your body - streamline (see what I did there? Man I crack myself up).

Having Loose and Flexible Ankles = My New Favorite Compliment

Have you ever heard the word “loose” as a description for any part of your body being taken as a good thing? Or, better yet, even something you should be working towards? When it comes to your ankles, this is exactly what you want to be striving towards. Loose. And flexible. Those two things are exactly what you want in order to generate the best flutter kick for your freestyle.

I can hear you now, “Lissa, that’s pretty…weird, (and probably not cute).” Well, you’re right, it definitely sounds a little strange, but trust me, the mechanics make a lot of sense (and should help ease those worried thoughts about what in the world I’m talking about right now).

SwimBox Fairfax SwimBox Swim Lessons Sterling SwimBox Swimming Lessons Vienna SwimBox Arlington SwimBox Swim Team SwimBox Swim Coch

The next time you hope in the pool, I want you to try kicking with your feet flexed. I guarantee you’ll be surprised by the result, because it’s the exact opposite of what you want to be doing while you swim. Fast forward to what will happen? You’ll move backwards. Just from having your ankles flexed...not good. Don’t believe me? Take a look at the video below to watch me in action.

See what I mean? NOT GOOD. This should be reason enough to listen to me and not swim with your feet flexed. Okay, end of blog, thanks for stopping by!

Don’t worry, I’ll actually explain. When you allow your ankles to be loose and flexible is when you’ll actually see propulsion from your kick. The up and down snap of your ankle generates a quick burst of momentum that ultimately allows your kick to move you forward in the water. People don’t usually think about what their ankles and feet are doing when they kick, but they’re actually the key factors that go into having a propulsive kick. Swimming with your ankles flexed (like in the video above) creates a force that you have to pull against as you’re trying to move forward. Stiffness of your ankles almost creates a parachute that you have to pull behind you, as this gives your arms that much more to fight against.

Think of a chinese finger trap. When you try to pull both fingers out, it tightens and you get nowhere. Now imagine that same force - okay, not that much force - being applied to your body as you’re trying to move forward. No thanks, not something I want to inflict on myself. All this does is make you work against yourself and burn through your energy stores that much more quickly.

Another way to put it is that the looseness of your ankles is like the paddle for your kick, as your hand and forearm are the paddle for your strokes. If you don’t utilize your hand and forearm as a paddle to push backwards with, your arms simply slip through the water without actually working to propel your body forward. Same as if you kick with your ankles flexed/stiff, you won’t get the up and down snap of momentum needed to actually kick against the water, as opposed to just uselessly moving through it.

The easiest way to better understand what it is I’m talking about is going to make you the cool kid of your office. While sitting in a chair, keep one foot on the ground, lift your opposite foot and extend your leg. Once your leg is extended you want to shake your foot around like you’re trying to get gum off of your big toe (or so I’ve heard, not sure this actually what I’d do if that happened to me…). You want to bounce your leg up and down, with your ankle relaxed, letting your ankle flick up and down. This movement helps you to understand how loose you want your ankles to be while swimming, as well as shows how they flick up and down when you prevent them from being in a fixed position.

A great way to work on ankle flexibility is some good old stretching. The Ankle Mobility/Flexibility Stretch below shows you two options: one with a partner and one by yourself. Both are easy enough to do anywhere and don’t require any equipment. Try adding them in before and after your swim workouts to help you stretch out your ankles and work on improving your kick.

Our Favorite Training Tools: Tempo Trainer

Next up in our favorite training tools series: the tempo trainer! The Tempo Trainer is basically just a teeny, tiny metronome that can easily fit inside your cap that helps you play around with cadence, timing of rotation, speed work, speed sets, making sure you’re singing on beat in your head, etc. This nifty little waterproof tool helps in more ways than I could ever write about - well, I could write about them, but the more I write the less content there is and the more prevalent that bad food jokes become. So for today I want to touch on the most common uses we have for the tempo trainer that we use with our clients that can easily be done by yourself when you head to the pool for a swim workout. First up, let’s talk about the love affair that is the tempo trainer and your cadence.

Cadence of your stroke, otherwise explained in swimming terms as the pace at which you are taking your strokes, is what determines the speed of your swim. Meaning the faster your cadence, the faster your stroke should be, and the faster your times should be as a result. One of the hardest things to learn - unless you grew up as a competitive swimmer - is how to change your cadence to help you speed up/slow down in the water. Enter, the tempo trainer. Using the tempo trainer you can set it to beep a certain number of times per minute. For typical open water/distance swimming you want to be taking 60-70 strokes per minute, so this is what you would set the tempo trainer to to help you find that cadence. Every time you hear it beep you want your hand to be entering the water. Hear it as: beep, right hand enters, beep, left hand enters, etc. Another way to think of it is to have the tempo trainer cue the downward rotation of your hip. Hear it as: beep, right hip down, beep, left hip down, etc.

SwimBox Swimming Lessons Sterling SwimBox Swim School Fairfax SwimBox Swim Coach SwimBox Swim Lessons

Keep in mind 60-70 strokes per minute might not apply to everyone. The number of strokes you want to take per minute is based off of your skill/comfort level in the water, as well as what you’re training for. If you’re looking to work on speed work during your races, you’ll want to use the tempo trainer for cadence work in practices that forces you to work harder than you’re used to. If you want to learn to slow down and keep a steady pace for a longer period of time, you want to use the tempo trainer to help you find a slower cadence.

Playing around with strokes per minute allows you to find your speed as well as train for your specific goal in mind. The great thing about the tempo trainer is that you can play around with it as much as need be to find what works best for you. Keeping it tucked just inside your cap means that you’re the only one who can hear the beep, so it’s perfect for individual workouts geared towards you and you alone.

Our Favorite Training Tools: Paddles

Next up in our favorite training tools series: paddles! Now, don’t get me wrong, paddles can have a high correlation with boring filler sets, trust me I know (and have been there - 10x100s pull with paddles? No thank you). But don’t worry your pretty little head about that, because I’m not here to talk about using paddles in the way they were created to be used.

SwimBox Swimming Lessons SwimBox Learn to Swim SwimBox Arlington SwimBox Sterling Swim Lessons Herndon SwimBox

First up is my all time favorite drill that we work on with out clients that is absolutely perfect for working on on your own. Paddlehead Drill take the paddle completely out of your hands and starts a new fashion trend/cap accessory as it helps you work on head position during your freestyle and during your breath. Place the paddle on the crown of your head and start your normal freestyle. When first starting make sure you swim without a breath so you can get the hang of the proper head position we’re looking for. You want to be looking straight down at the bottom of the pool during your freestyle. If your head moves out of position the paddle will fall off, it’s the perfect positive/negative reinforcement as to whether your head position is correct, and you don’t even need a coach to watch you.

SwimBox Swimming Lessons SwimBox Learn to Swim SwimBox Arlington SwimBox Sterling Swim Lessons Herndon SwimBox

Once you’re comfortable with your head position, add in the breath. You want to keep one eye in the water while you turn your head to look back towards your armpit to take your breath. This will help you keep from lifting your head up, which would cause the paddle to fall off. Keep in mind your head will follow where your eyes look, so looking back towards your armpit works to keep your head down as well as stay in your streamline position.

The next way we like to use paddles is for Paddles in Hands drill. This drill forces you to learn to use your forearm as a paddle, as well as how to use the position of your elbow - not your wrist - to create the paddle. Holding the paddle in your hand takes your hand out of the equation and helps you understand the need to have a paddle from your fingertips to your elbow.

SwimBox Swimming Lessons SwimBox Learn to Swim SwimBox Arlington SwimBox Sterling Swim Lessons Herndon SwimBox

Holding the paddle this way, as illustrated in the above photo, prevents you from bending at your wrist during your catch and pull. Bending from your wrist removes your forearm from being able to be a part of your paddle, therefore giving you less surface area to use to push back against the water during your pull. Holding the paddle helps you feel the entire amount of water you’ll be able to push back against by bending at your elbow and maintaining your paddle from your fingertips all the way to your elbow.

SwimBox Swimming Lessons SwimBox Learn to Swim SwimBox Arlington SwimBox Sterling Swim Lessons Herndon SwimBox

This drill not only helps you feel the water against your forearm during your pull, but it helps you understand how dropping your elbow affects your ability to catch and pull efficiently. Dropping your elbow is another way that prevents you from using your forearm as a paddle. When practicing this drill start by focusing on keeping your wrist straight and not letting it bend. Then work on bending from your elbow and keeping it forward and up in order to feel how you can use the area from your fingertips to your elbow to push back against the water during your pull.